Introduction
Stable Diffusion is a powerful AI model that can generate images from text descriptions. Running it locally on your computer gives you the freedom to experiment with various inputs and even fine-tune the model. This guide will walk you through the process step-by-step.
Important Note: You'll need a GPU (graphics card) in your computer to run Stable Diffusion effectively. The process won't work well without one.
Step 1: Install Python and Git
Python Installation:
- Download Python 3.10.6 or later from python.org.
- During installation, make sure to check the box that says "Add Python to PATH".
- To verify the installation:
- Open Command Prompt (Windows) or Terminal (Mac/Linux)
- Type
python --versionand press Enter - You should see the Python version number
Git Installation:
- Download Git from git-scm.com.
- Follow the installation prompts, accepting the default options if you're unsure.
- To verify the installation:
- Open Command Prompt or Terminal
- Type
git --versionand press Enter - You should see the Git version number
Step 2: Create Necessary Accounts
GitHub Account:
- Go to github.com and click "Sign up".
- Follow the prompts to create your account.
Hugging Face Account:
- Visit huggingface.co and click "Sign Up".
- Complete the registration process.
Step 3: Download Stable Diffusion Web UI
- Create a new folder on your computer where you want to store Stable Diffusion.
- Open Command Prompt or Terminal and navigate to this folder:
cd path/to/your/new/folder - Clone the Stable Diffusion Web UI repository:
git clone https://github.com/AUTOMATIC1111/stable-diffusion-webui.git
Step 4: Download the Stable Diffusion Model
- Log in to your Hugging Face account.
- Search for "Stable Diffusion" and choose a model version (e.g., v1.5).
- Download the model file (it will be large, around 4-7 GB).
- Once downloaded, move the file to this location in your Stable Diffusion folder:
stable-diffusion-webui/models/Stable-diffusion/
Step 5: Set Up the Web UI
- Open Command Prompt or Terminal.
- Navigate to the stable-diffusion-webui folder:
cd path/to/stable-diffusion-webui - Run the setup script:
- On Windows:
webui-user.bat - On Mac/Linux:
./webui.sh
- On Windows:
Step 6: Run Stable Diffusion
- After the setup finishes, you'll see a URL in the Command Prompt/Terminal:
Running on local URL: http://127.0.0.1:7860 - Copy this URL and paste it into your web browser.
- The Stable Diffusion Web UI should now load in your browser.
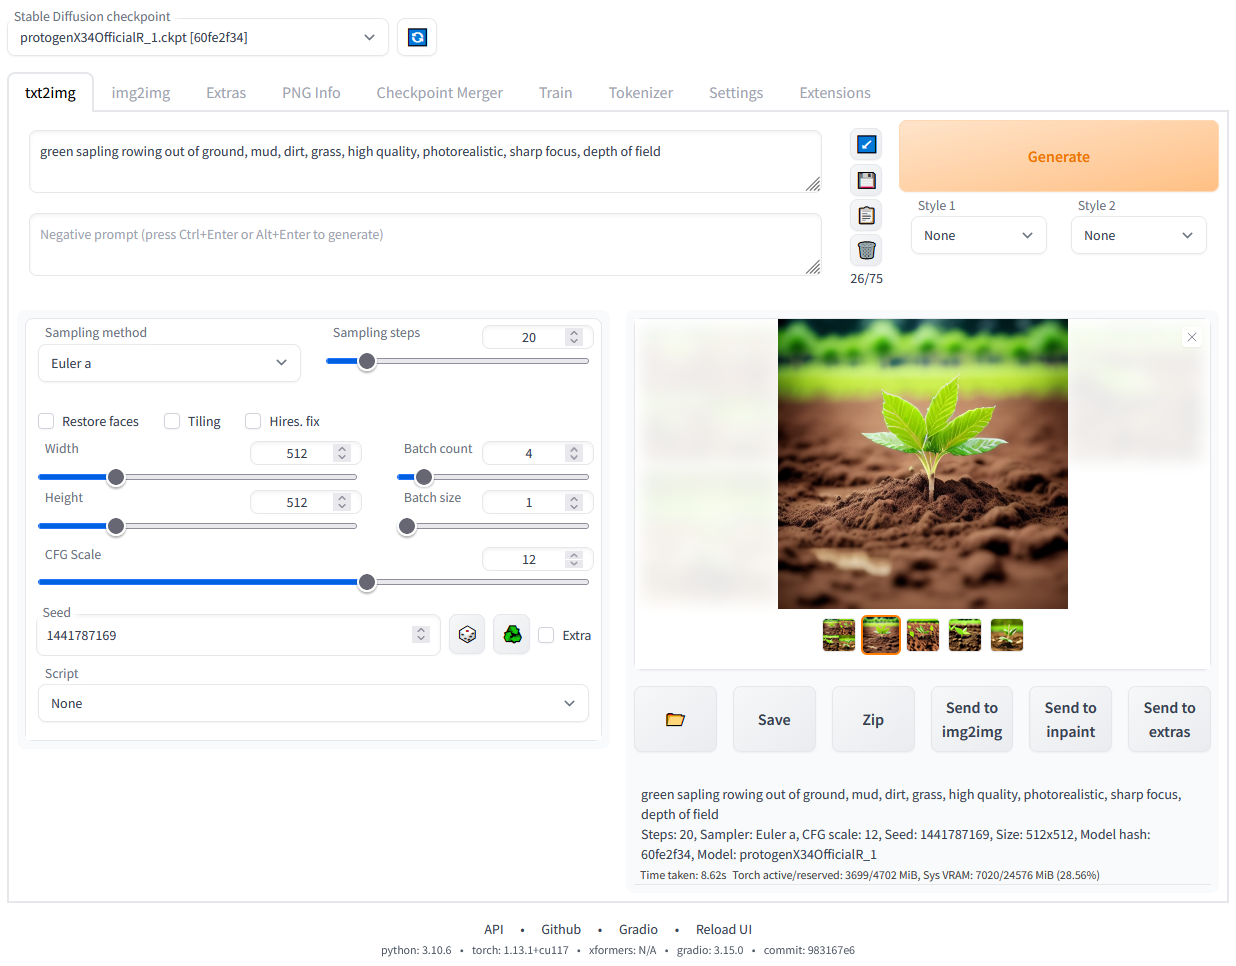
Using Stable Diffusion
- In the main text box, type a description of the image you want to generate.
- Click the "Generate" button.
- After a short wait, your AI-generated image will appear!
Tips:
- Be as descriptive as possible in your text prompts for better results.
- Experiment with different settings like image size and sampling steps.
- Keep the Command Prompt/Terminal window open while using Stable Diffusion.
Troubleshooting:
- If you encounter errors, make sure all software (Python, Git) is up to date.
- Check that your GPU drivers are current.
- Consult the Stable Diffusion community forums for specific issues.
Remember, running AI models locally can be resource-intensive. Make sure your computer has adequate cooling, especially during long generation sessions.